St. George Milky Way Astrophotography: Essential Tips
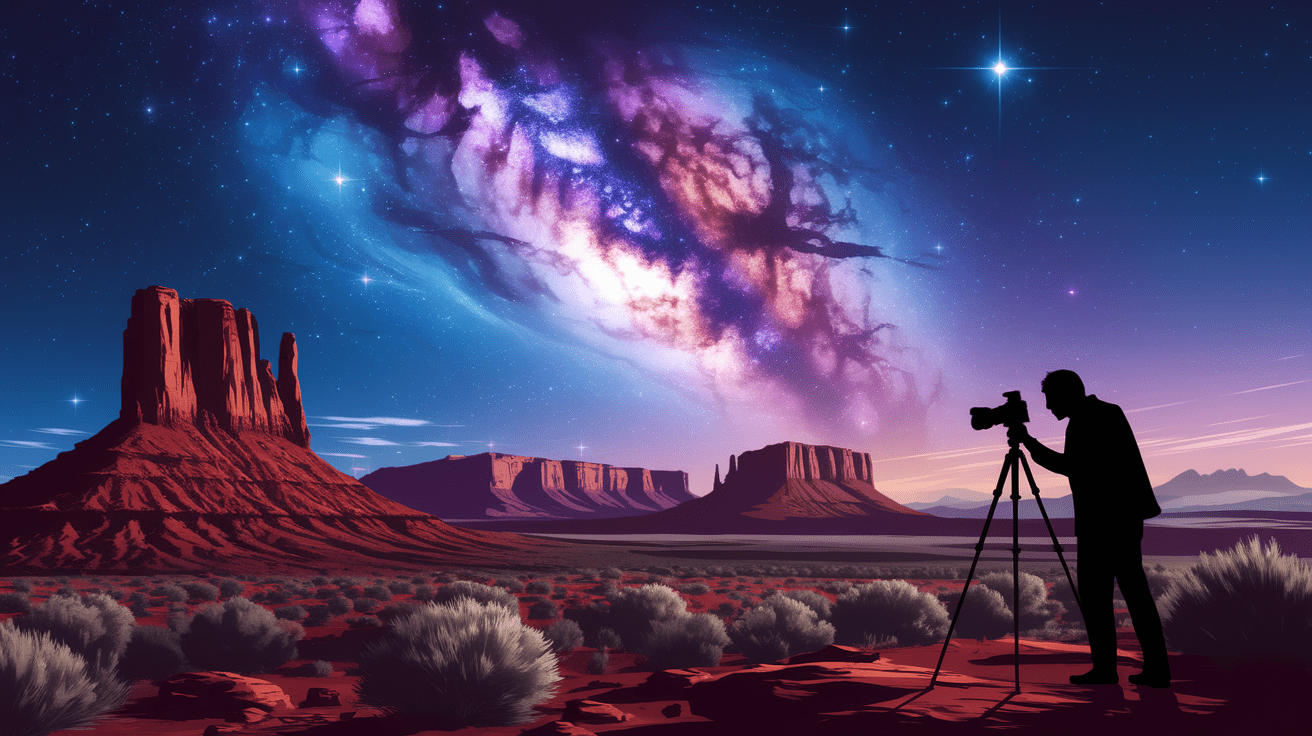
First Light Over the Red Cliffs
If you’ve ever stood outside on a warm Southern Utah night, away from city lights, and looked up at the sky, you’ll know the Milky Way here can be breathtaking. St. George, with its proximity to places like Snow Canyon State Park and the dramatic ridges of the Dixie Red Hills, makes for an ideal starting point to explore the stars. Much of the surrounding region falls into darker zones on the Bortle scale, meaning less light pollution and clearer views of the galactic core.
Whether you’re building your first astrophotography kit or refining your Milky Way photography skills, this area’s red rock formations and desert skies offer some of the most striking backdrops you’ll find. Let’s explore how you can capture them beautifully.
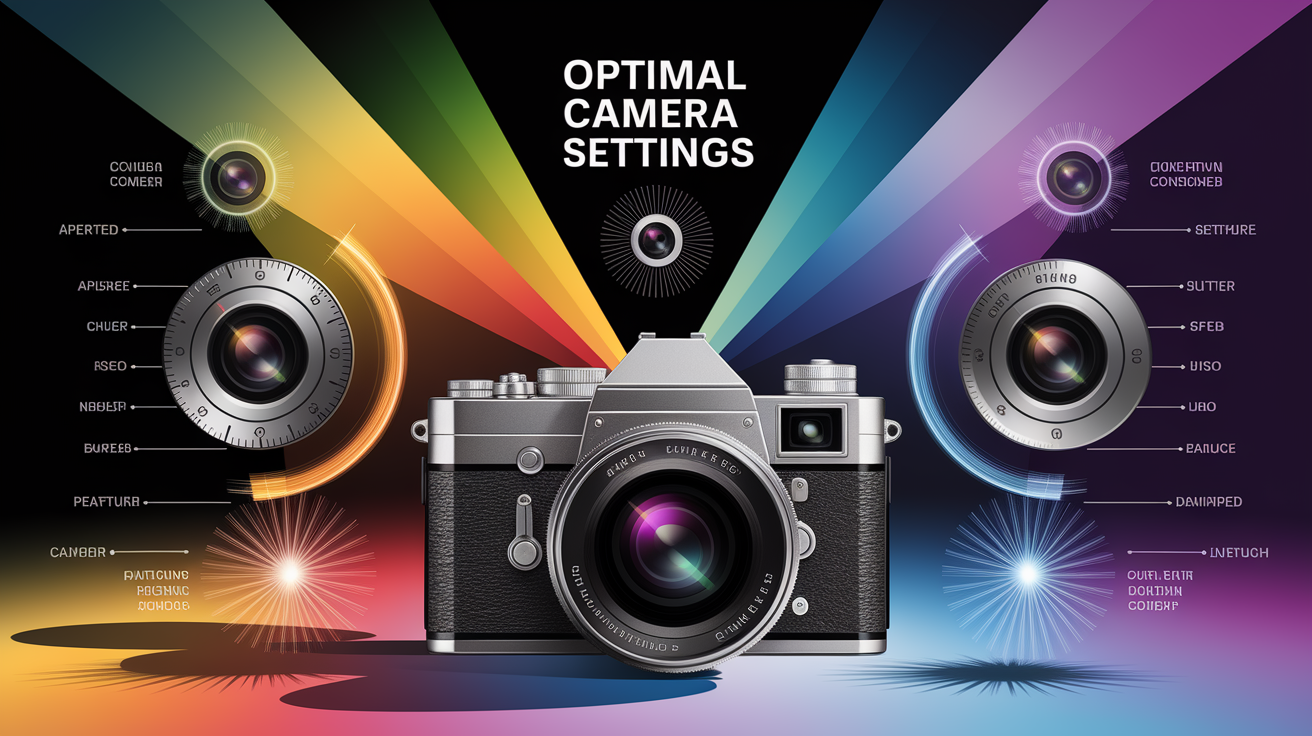
Optimal Camera Settings
Getting the core of the Milky Way crisp and vivid isn’t about guessing—it’s about dialing in the right settings for your camera, whether it’s a DSLR or mirrorless model. Generally speaking, astrophotographers in dark-sky areas like St. George work with:
- A wide-angle lens — 17mm or wider is ideal for capturing more of the night sky.
- High ISO sensitivity — between 1600 and 6400, to help gather more light.
- A wide aperture — such as f/2.8 or lower, so your lens can pull in maximum light.
- Shutter speed — usually 10 to 30 seconds, adjusted with the NPF or 500 rule to avoid star trails.
- RAW format — essential for flexible editing later.
For a deeper dive into recommended aperture, ISO, and shutter speed combinations, you may find this practical guide to Milky Way settings helpful.
Achieving Pinpoint Focus
Stars are small points of light, and nailing sharp focus on them can be tricky in the dark. Autofocus rarely works well at night, so it’s best to switch to manual focus. A reliable approach is to use your camera’s live view, zoom in 10x or more on a bright star, and slowly turn the focus ring until it’s a crisp, tiny dot.

Some cameras have a “focus peaking” feature that highlights sharp areas in your frame — this can be a big help. Always take a quick test exposure and zoom in on playback to check for star sharpness. For step-by-step guidance on manual focusing in astrophotography, this beginner-friendly tutorial offers clear advice.
Framing St. George’s Landscapes
One of the joys of shooting in St. George is integrating its dramatic landscapes into your Milky Way images. Those jagged red rock formations in Snow Canyon or the silhouette of cliffs against the starry sky add both depth and a sense of place. Foreground elements give context to the immense sky above.

You can experiment with foreground composition by positioning a rock spire in front of the galactic core, or by incorporating reflections from a quiet stream if you find one. Many photographers also capture separate exposures for the sky and foreground, blending them later for balance and detail. This article on Milky Way composition walks through methods like time blending to get the most from your desert landscapes.
Timing and Location Strategies
The Milky Way’s core isn’t visible all year, so knowing your timing is critical. In St. George, the prime season stretches from late spring through early fall, when the core rises after sunset and sits high in the sky during the dark hours. Your absolute best nights will be near the new moon, when there’s no bright moonlight washing out the stars.

Clear forecasts and low humidity are your friends here. Fortunately, the dry desert air in Southern Utah usually makes for crisp views. Apps like PhotoPills help you pinpoint when the core will be above the horizon and where to look. If you’re new to planning shoots, this seasonal Milky Way guide lays out visibility charts and location-specific tips.
Enhancing Your Milky Way Shots
Once you’ve captured your shots, post-processing is where the real magic comes alive. You can fine-tune exposure and contrast to make the galaxy’s dust lanes and colors stand out. Programs like Adobe Lightroom and Photoshop are popular choices for this work.
Common techniques include:
- Stacking multiple exposures to reduce noise.
- Using dark frames to counteract sensor noise.
- Carefully blending separate sky and foreground images for optimal detail.
- Adjusting white balance to bring out natural colors in the Milky Way.
For a helpful walkthrough of these techniques, this astrophotography processing guide explains both stacking and dark frame subtraction.
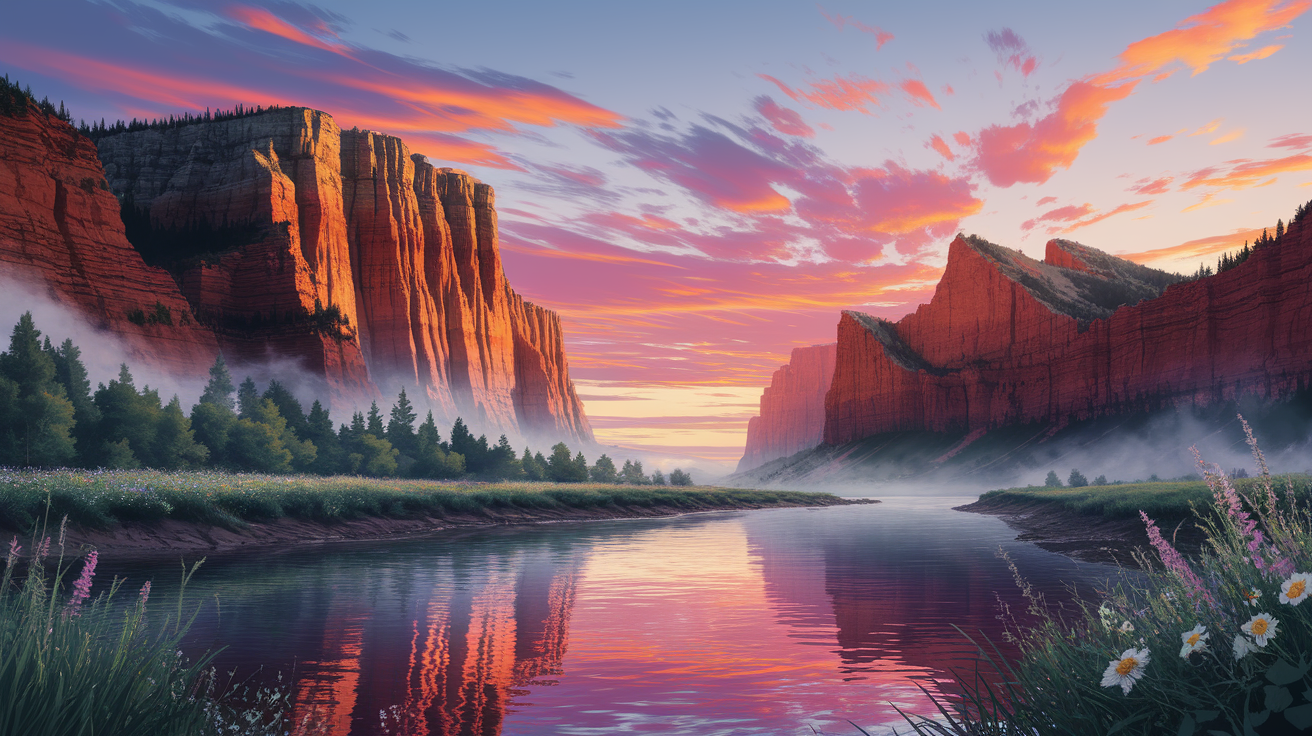
Capturing the Cosmic Red Rock Canvas
Nothing compares to standing beneath the Milky Way in St. George. With the right blend of planning, technique, and creative framing, you can bring home images that tell your own story of the night sky over the desert. The red cliffs, the dark skies, and the galaxy stretched above — it’s a cosmic canvas waiting for you to capture it.
So pack your gear, check the moon phase, and head out to your chosen spot. Whether it’s a quiet overlook in Snow Canyon or a hidden corner near Zion National Park, the heavens here are more than worth the trip.